Step-by-Step Guide
Who can benefit from using FI?
Feed Informer is intended for the owners of any kind of websites - from simple personal web pages and personal blogs to the large and popular web portals. Using the tools provided by our service you can enrich and diversify website’s contents with news aggregated from various external sources, according to the set of predefined rules. Moreover, Feed Informer enables you to customize the visual design of the retrieved content in such a manner that once you embed that content to your web pages it will look as an intrinsic part of your site.
What are web feeds?
The main function of Feed Informer is to aggregate news syndicated by various sources and combine them into one stream - we call it digest. Data sources for the digest are known as web feeds. Web feed is a data format used for providing users with frequently updated content. Web feeds are designed to be machine-readable rather than human-readable, this means that web feeds can be used to automatically transfer information from one website to another without any human intervention. The majority of websites on the Internet syndicate such feeds.
For the moment there are two commonly used feed formats: RSS and Atom.
Learn more about feeds:
Please note that Feed Informer is not in any way a tool for reading feeds (i.e. not Google Reader alternative). If you need one of those, please, check the following links:
- http://en.wikipedia.org/wiki/News_aggregator
- http://en.wikipedia.org/wiki/Comparison_of_feed_aggregators
Groundwork
First of all you should arrange a list of websites you’re planning to use as information sources for your digest. Find out if they syndicate feeds (RSS or Atom). It might not be that easy, so consider the following tips.
Keep in mind that your final goal is to get the feeds’ URLs. Some websites provide links to the feeds explicitly on their pages, for example, http://www.bbc.co.uk/news/:

Others (particularly larger ones) dedicate a web page to the list of feeds they provide, for example:

If you cannot find direct links to the feeds on the site, you may also look through the HTML code of the web page (usually Home or News page). In this case you need to open the page in HTML code view mode (“View Page Source” or “View as HTML” in the menu of your browser), and search through the text for the lines that contain fragments such as "application/rss+xml" or "application/atom+xml". Full HTML tag containing the feed’s URL will look somewhat like this:
<link href="http://feeds.bbci.co.uk/news/rss.xml" rel="alternate" type="application/rss+xml" title="BBC News - Home" />
Save the feeds’ URLs you got in a text file - you will need them soon enough.
Getting started
To start working with our service you should create a personal account. It is necessary so that only you (and people you may trust with your login credentials) might access and edit the digests you create. Click “Sign Up” link at the top right corner of the page and fill in the form (at least the required fields).
While choosing your password please avoid using vocabulary words as well as numbers only. A strong enough password should include both alphabetic and numeric symbols.
Please note that email address you provide during registration will be used to restore the password in case you forget it. Besides, if you decide to become a premium user, our support team will consider requests sent from this email ONLY.
To complete your registration click ‘Save Changes’. Every time you need to access the service administration panel, follow “Sign In To Your Account” link and enter your and password.
Your first digest
After you are logged in to Feed Informer, click “My Digests” link in the main menu.
At this moment your digests list is empty, but later it will display all the digests you have set up.
To create your first digest click "Create New Digest" button.
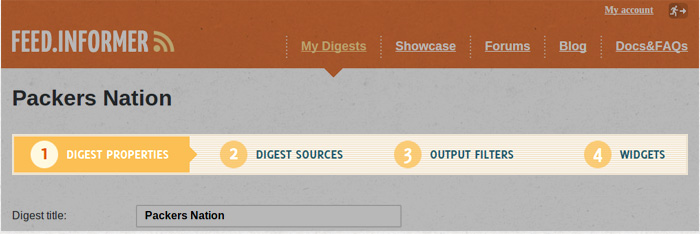
Give a meaningful name to the digest, so that you will be able to easily find each specific digest among others when you have a long list of them.
Enter the name and click “Save Changes” button.
Congratulations, your first digest is created.
Adding sources to your digest
You have created your first digest, but it has no content yet.
At this step you will need the list of URLs which you prepared beforehand.
You can see the menu comprising these four options:
- Digest Properties
- Digest Sources
- Output Filters
- Widgets
Since the digest is created, you can proceed to setting digest sources. Click "2. Digest Sources" link.
You will see a simple form consisting of a field to input feed’s URL and a button.
Copy and paste feeds’ URLs one by one from the list you prepared before, clicking “Add New Feed To This Digest” button every time you paste a new link. The order in which you’re adding URLs does not matter.
The list of added sources appears below the form (“Feed Title” is extracted from the feed automatically):
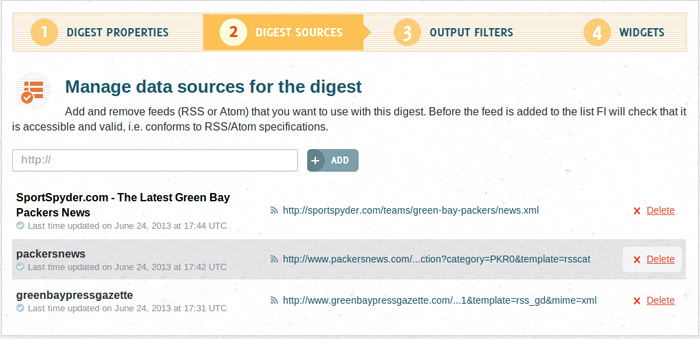
You can remove unnecessary feeds from the list at any moment by clicking “Delete” button right beside every feed.
Setting up filter conditions
You have provided data for the digest, but at times it can be insufficient for your purposes. Therefore Feed Informer enables you to apply additional filter conditions to the feeds data.
Default settings of filters might work fine for you and there won’t be any need to modify filter conditions. Moreover, if you’re making your first digest, we advise you to skip this step and move to the next chapter.
To adjust filters follow "3. Output Filters" link.
Basic filters allow you to:
- Set sorting order for items in the digest (“Order Items By” field).
- Specify preferred time zone to display the date (“Timezone” field).
- Set characters encoding for the digest (“Output Encoding” field). To avoid encoding compatibility issues, it would be better to set the same encoding you use for your HTML pages.
Learn more about encodings here: http://en.wikipedia.org/wiki/Character_encodings_in_HTML. - Select language in which weekdays will be displayed (“Language” field).
Advanced filters allow you to:
- Set the list of keywords which should be presented in the news of source feeds. There are two options for keywords filtering:
- “OR filter” shows items containing ANY of the words mentioned. Input keywords delimited by spaces, for example: “blogging weblog blogspot”.
- “AND filter” shows items containing ALL the words mentioned. Input keywords delimited by spaces, for example: "weather forecast".
When using AND in combination with OR, keep in mind that AND filter is always applied first.
- Choose either to use only news items currently presented in original feeds, or also include data which is already discarded from the original feeds but still stored in Feed Informer’s archive ("Show Live Item Only Filter" field). Remember: Feed Informer does not store retrieved data forever, eventually very old feed items are removed from our archive too.
- Avoid including items that might be considered as duplicates ("Dupe Filter" field).
Note that all advanced filters work in a combination, so there is a chance of setting up filter conditions which are never satisfied. As a result, you may get an empty digest, therefore you need to combine filter conditions very carefully.
Once you have finished setting up filters, click "Save Changes" button.
Each field of the form comes along with a short tip which will remind you about the main purpose of every particular filter, so there won’t be any need to run through this documentation again.
Creating and publishing widgets
Presumably, by now the digest is filled with data. Now for the final step let’s set up how the digest will look.
What is the widget?
The widget is a combination of visual design and embed code type.
Feed Informer allows you to create an unlimited number of variants for digest's visual presentation. This might come in handy if you're planning to embed your digest into rather visually diverse web pages, or even websites.
But widget is not only a skin of your digest, it is also a method of how you embed it into your web page or template. Feed Informer supports several types of an embed code: Javascript, Flash, PHP, ASP. Which type of embedding to choose depends upon your web server and OS specifics, for example, if you chose to use server-side code embedding and your server is powered by Microsoft Windows Server OS, you are likely to go with ASP code; if the server works under Linux, your obvious choice is PHP embed code. If you prefer to embed the code on the client’s side (Javascript, Flash), then type of OS on the server doesn’t matter.
Widget Design
To start customizing your widget’s visual parameters, click “4. Widgets” link.
In due course this page will contain list of widgets you created for this digest, but meanwhile it is empty.
To create your first widget select widget’s type from the list and click "Create Widget" button. Now you can start customizing all the visual aspects of your widget.
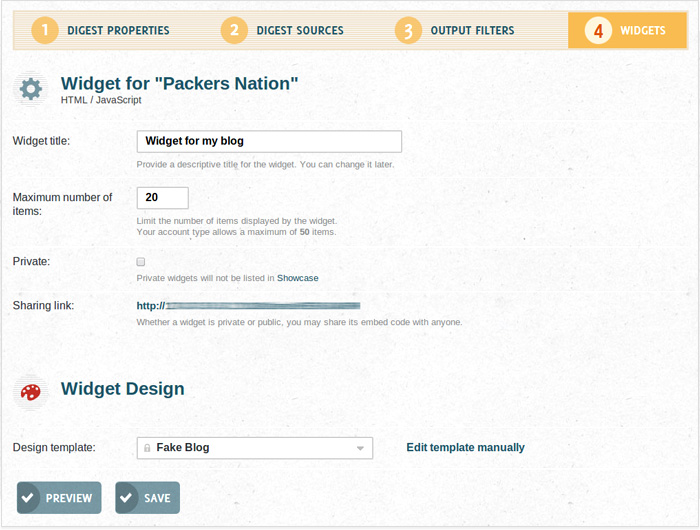
Set presentation parameters, such as height and width of the widget, color palette, font’s family and size, so the widget would look as an integral part of your web page. Note that set of widget's visual parameters may vary for the different types of widgets.
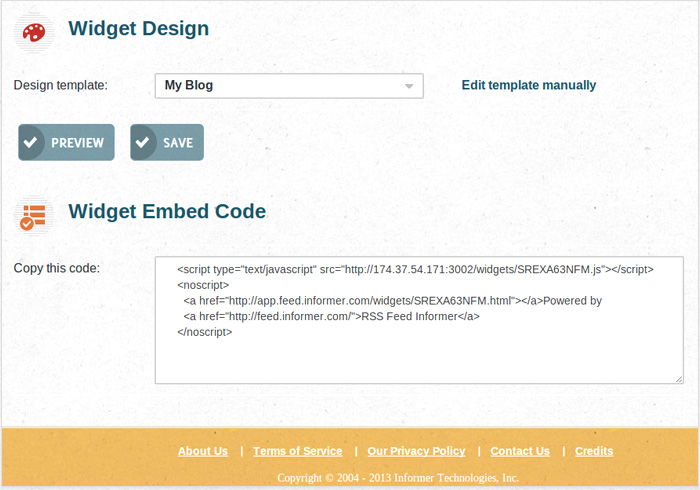
For certain types of widgets we provide ready-to-use templates. You can choose the one that suits you best from the list ("Design Template" field).
Javascript widget is the most customizable one. You can set widget’s visual design by manually editing the HTML code of the template. Read more about editing the templates on Feed Informer documentation pages Templates and Template Tags.
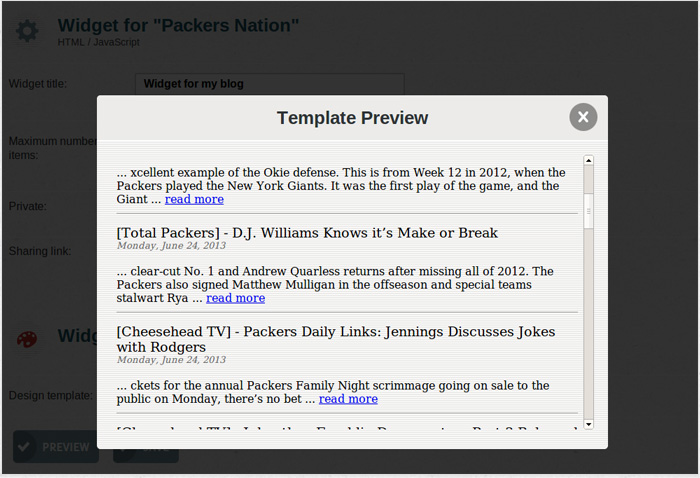
You can preview the draft version of the widget during editing process by clicking "Preview" button.
As soon as you’re done, click "Save Changes" button.
Setting up the widget on your website
Now when the widget is customized, it is time to embed it into the pages of your website.
On the same page (‘Widgets’), below "Save Changes" button, you will find the "Widget Embed Code" section. Copy the code from text area and paste it into your web page's source code in the appropriate location where you want your widget to be displayed.
Review the page with the widget embedded in a separate window of your browser. Are you satisfied with the result? If not, you may want to return to any previous step any time: for example, add or remove feed sources under "Digest Sources" menu option, tweak filter settings in "Output Filters", adjust widgets’ design in "Widgets", and so on until you are completely happy with the result.
If you have additional questions about using our service, we recommend you to visit our FAQ section. For additional support, please visit our Forum, we will be glad to help you.
For inspirational purposes you can browse ready-made widgets in the Showcase section.